Glass photography 101, or, How I Learned to Stop Worrying and Avoid Reflections.
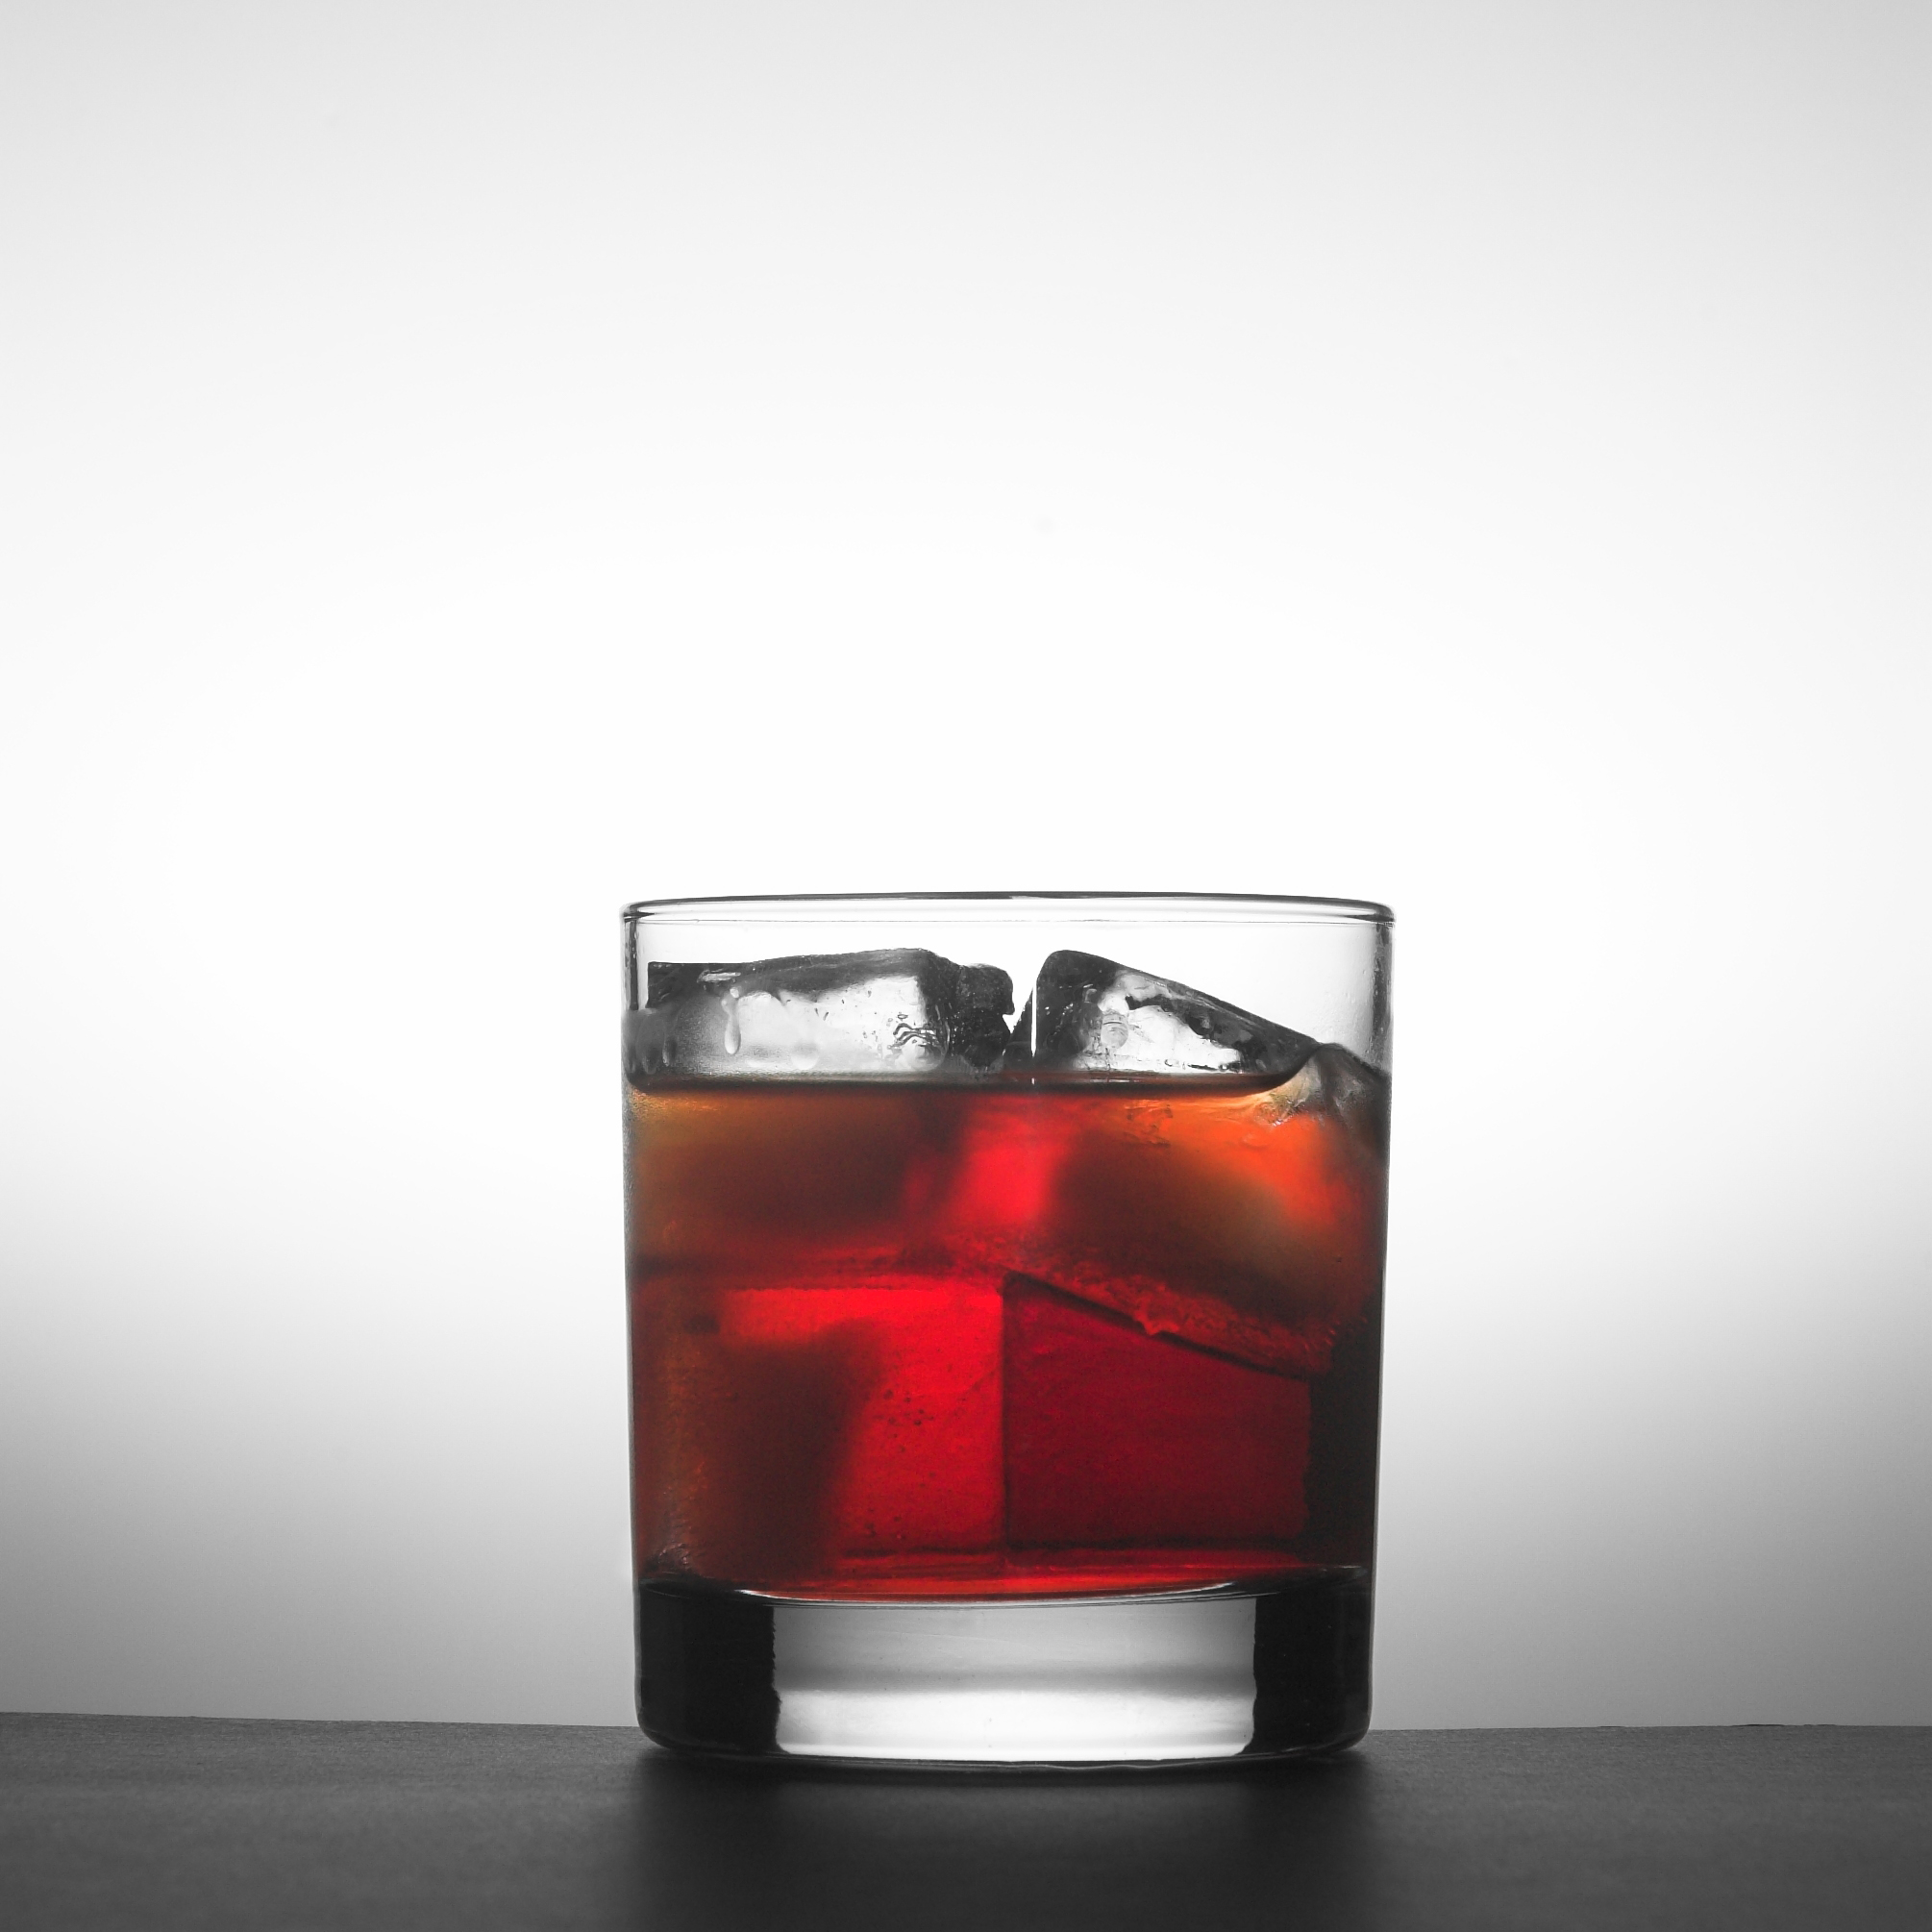
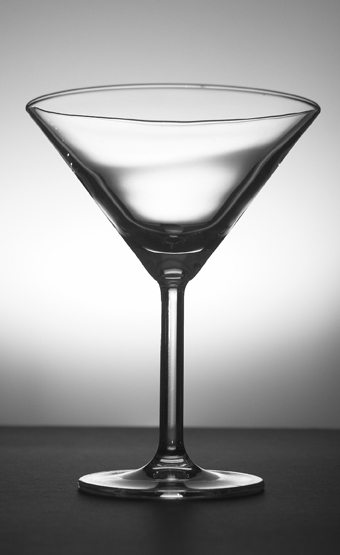
Rule number one of glass photography is to be aware of reflections. Glass will unmercifully reveal your light sources, should you put them anywhere near its surface. The trick? Shoot through it. Don’t light glass directly, but take advantage of its transparent nature and backlight it. You want your light source behind the glass, shining through. The simple way to do this is to shine light on a white background with the glass in front of it. The result is called “black line” photography, as it gives you a dark outline of your glass.
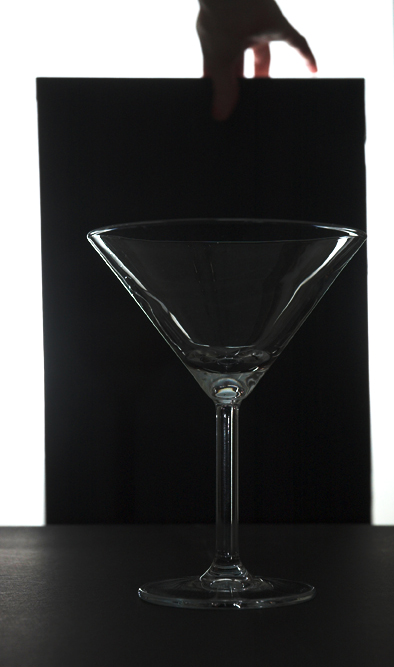
This works pretty well for most cases. However, there is a second technique: whiteline. With whiteline, the initial setup is the same. There is a large, broad light source (like a softbox or light bounced off of a white card) only instead of the light traveling through the glass, place a piece of opaque material (black card works best) between the light and the glass. This will allow the light to travel around the black card, and light only the edges of the glass. The amount of light hitting the edges depends on how near or far the black card is to the glass. Placing the card closer will block more of the light, leaving thin lines, whereas backing away allows more light to spill around the edges.
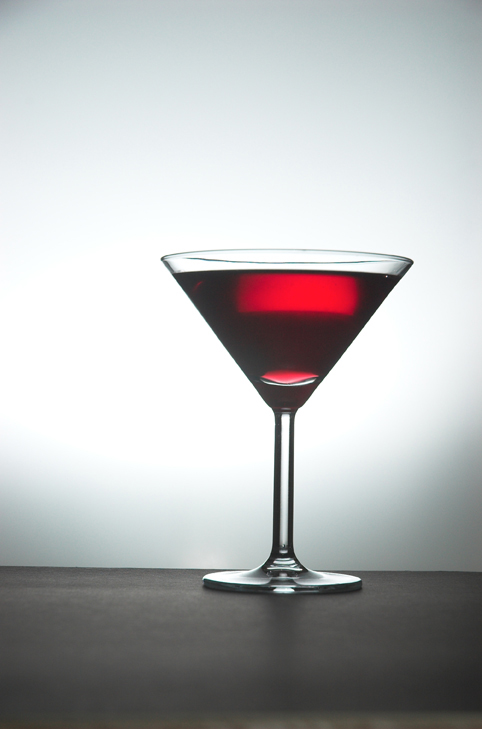
Results may vary, so play around and see what works. Note that any colored liquid will do best with the blackline technique, as the light shining through the liquid will allow the color to glow.
All of the above setups used one Nikon SB600 speedlight at 1/64th power bounced off a piece of white foamcore. The glass was positioned about three feet away, and camera settings are in the range of 1/125 @ f6.3, 200ISO.


